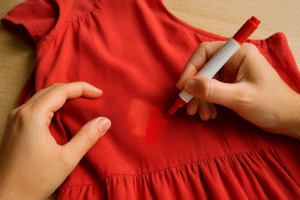
Bathtub burn marks can be frustrating and unsightly, detracting from the overall appearance of your bathroom. If you’ve ever accidentally placed a hot object on your tub or experienced discoloration from chemical reactions, you know how quickly burn marks can form. Luckily, learning how to repair bathtub burn mark issues is a straightforward process with the right guidance and tools.
A damaged bathtub not only affects its aesthetic appeal but can also reduce its durability over time. Whether your tub is made of porcelain, acrylic, fiberglass, or enamel, addressing the burn mark promptly ensures its longevity and restores its pristine appearance.
This article will cover the most effective ways to repair bathtub burn mark issues, offering step-by-step solutions and preventive measures to avoid future damage. With these tips, you’ll save time, money, and the hassle of replacing your bathtub entirely.
Introduction: Why Repairing a Bathtub Burn Mark Is Important
Burn marks on a bathtub, while seemingly superficial, can become a bigger problem if ignored. These marks not only mar the surface of the tub but can also weaken its material if left untreated. Whether caused by heat exposure, harsh chemicals, or accidental damage, burn marks can lead to deeper cracks, leaks, and discoloration over time.
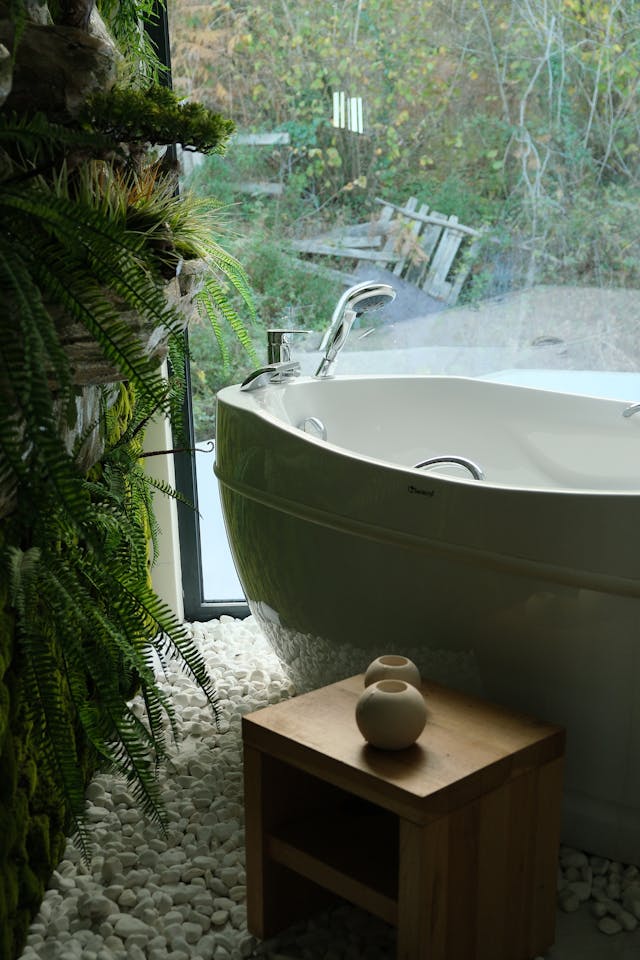
Understanding how to repair bathtub burn mark problems is essential for maintaining the overall hygiene, safety, and aesthetic appeal of your bathroom. A clean and well-maintained bathtub enhances your home’s value and provides a relaxing, enjoyable bathing experience.
In this guide, we’ll explore effective DIY techniques and professional repair options to remove burn marks and restore your bathtub’s original beauty. From identifying the type of material to applying the correct solutions, we’ve got you covered with practical advice and insights.
Identifying the Type of Bathtub Material
Before you can repair bathtub burn mark damage, it’s important to know what material your tub is made of. The repair process varies depending on whether the tub is acrylic, porcelain, fiberglass, or enamel.
Common Bathtub Materials:
- Acrylic: Lightweight and durable, but susceptible to heat damage.
- Porcelain: Resistant to most damage but can chip and discolor.
- Fiberglass: Affordable and flexible but prone to scratches and burns.
- Enamel: Durable with a glossy finish, though it may develop chips over time.
Identifying the material ensures that you use the correct repair method and avoid further damage.
Cleaning the Burn Mark Before Repair
The first step in addressing any burn mark is to clean the area thoroughly. Dirt and debris can interfere with the repair process and make the burn mark appear worse.
How to Clean a Burn Mark:
- Use a mild detergent and warm water to clean the affected area.
- Gently scrub with a non-abrasive sponge.
- Dry the surface completely before proceeding with repairs.
Cleaning not only prepares the surface for repair but also helps you assess the severity of the burn mark.
Repairing Minor Burn Marks on Acrylic Tubs
If your acrylic tub has a minor burn mark, it can often be fixed with simple DIY solutions.
DIY Steps:
- Sand the affected area with fine-grit sandpaper to remove surface damage.
- Apply a polishing compound to restore the shine.
- Buff the area gently with a soft cloth.
These steps are effective for small, superficial burn marks and can restore your tub’s appearance quickly.
Using a Bathtub Repair Kit
For more significant damage, a bathtub repair kit is a reliable solution.
Steps to Use a Repair Kit:
- Purchase a kit that matches your bathtub’s material and color.
- Follow the instructions to mix the filler or repair compound.
- Apply the compound to the burn mark and smooth it out.
- Allow the area to cure before sanding and polishing.
Repair kits are designed for both minor and moderate damage and are widely available at hardware stores.
Fixing Burn Marks on Porcelain and Enamel Tubs
Porcelain and enamel tubs require specialized repair techniques to address burn marks.
Porcelain Repair:
- Use a porcelain repair compound or touch-up paint.
- Apply in thin layers and allow each layer to dry before adding the next.
Enamel Repair:
- Sand the damaged area lightly to remove discoloration.
- Apply enamel touch-up paint and let it cure for several hours.
These methods ensure that the burn mark is completely covered and the surface remains smooth.
Preventing Future Burn Marks on Your Bathtub
Once you’ve learned how to repair bathtub burn mark damage, it’s equally important to prevent it from happening again.
Preventive Tips:
- Avoid placing hot objects directly on the tub’s surface.
- Use protective mats or trays when handling heated tools near the bathtub.
- Clean your bathtub regularly to prevent discoloration from chemical residues.
By following these tips, you’ll maintain the integrity and appearance of your bathtub for years to come.
Conclusion: Restoring Your Bathtub’s Beauty and Functionality
Repairing a bathtub burn mark might seem daunting at first, but with the right tools and techniques, it’s a manageable task for any homeowner. Whether you choose DIY methods or professional repair options, addressing the issue promptly ensures your bathtub remains a functional and attractive part of your home.
By following the tips and steps outlined in this guide, you can successfully repair bathtub burn mark problems and prevent them from recurring. A well-maintained bathtub not only adds to the aesthetic appeal of your bathroom but also enhances your overall bathing experience.
Don’t let a small burn mark diminish the beauty of your bathtub. Take action today and restore its original charm and functionality with confidence.
Share this:
- Click to share on Facebook (Opens in new window) Facebook
- Click to share on X (Opens in new window) X
- Click to share on LinkedIn (Opens in new window) LinkedIn
- Click to share on Reddit (Opens in new window) Reddit
- Click to share on X (Opens in new window) X
- Click to share on Threads (Opens in new window) Threads
- Click to share on WhatsApp (Opens in new window) WhatsApp