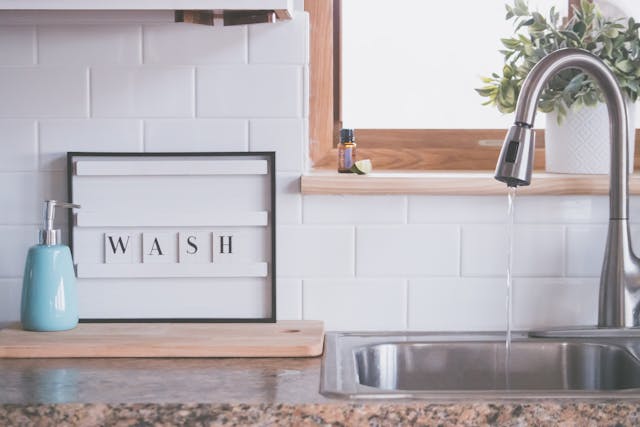
Faucet maintenance can sometimes be tricky, especially when it comes to accessing the aerator. These small components play a vital role in regulating water flow, preventing splashes, and conserving water. However, if you lose the aerator key or find yourself with a stuck aerator, frustration can quickly mount. Learning how to open an aerator without a key can save time, effort, and money. This guide walks you through various practical solutions and preventive tips to tackle this challenge with ease and confidence.
Aerators may seem insignificant, but their functionality is crucial for maintaining an efficient faucet system. Over time, mineral deposits, rust, or grime can cause the aerator to jam, requiring immediate attention. While keys designed to remove aerators simplify the process, losing the tool is not uncommon. Fortunately, there are multiple alternative techniques to successfully remove an aerator without causing damage.
What is an Aerator, and Why Does it Matter?
Before diving into methods for opening an aerator without a key, it’s essential to understand its purpose and significance.
- Purpose of Aerators: These components are designed to control water flow by mixing air into the stream. This reduces water usage while maintaining pressure.
- Common Issues: Over time, debris and calcium deposits accumulate in aerators, reducing water flow and potentially causing clogging.
- Importance of Maintenance: Regular cleaning and maintenance can extend the lifespan of your faucet and prevent costly repairs.
Understanding the role of aerators helps you approach the removal process with care and precision.
Tools You Can Use Instead of a Key
The absence of an aerator key doesn’t mean you’re stuck. Several common household items can help:
- Pliers or adjustable wrench.
- Rubber gloves for grip.
- Rubber band or elastic band.
- Vinegar for loosening mineral deposits.
- Screwdriver or knife (used carefully).
- Duct tape for extra grip.
Each of these tools offers a unique way to gain the leverage needed to remove the aerator.
The Rubber Band Trick
The rubber band method is one of the simplest and safest ways to open an aerator without a key:
- Wrap a thick rubber band around the aerator to improve grip.
- Use your fingers or pliers to twist the aerator counterclockwise.
- The added friction makes removal easier without damaging the aerator.
This technique is particularly useful for lightly stuck aerators.
Using Pliers or an Adjustable Wrench
Pliers or an adjustable wrench are effective tools for removing a stubborn aerator:
- Place a cloth or rubber around the aerator to protect it from scratches.
- Grip the aerator firmly with pliers or the wrench.
- Apply steady pressure and turn counterclockwise.
Always proceed gently to avoid damaging the faucet threads.
Loosening the Aerator with Vinegar
Mineral deposits often cause aerators to jam. Vinegar can help dissolve these deposits:
- Soak a cloth in white vinegar and wrap it around the aerator.
- Allow it to sit for 20–30 minutes.
- After soaking, attempt to remove the aerator using the rubber band or pliers method.
This natural solution is effective and avoids the use of harsh chemicals.
Employing Duct Tape for Extra Grip
If other methods fail, duct tape can provide the grip needed to remove a tight aerator:
- Cut a strip of duct tape long enough to wrap around the aerator.
- Wrap it tightly around the aerator to create a makeshift handle.
- Twist counterclockwise to loosen and remove the aerator.
Duct tape is particularly useful when dealing with smooth or slippery aerators.
Using a Screwdriver or Knife Carefully
In extreme cases, a flat-head screwdriver or knife can assist:
- Insert the tool gently into the notches of the aerator.
- Apply light pressure and twist counterclockwise.
- Be cautious to avoid damaging the threads or cutting yourself.
This method should only be used as a last resort.
Advanced Techniques for Stubborn Aerators
If the aerator remains stuck, consider these advanced solutions:
- Heat Application: Use a hairdryer to apply gentle heat to the aerator, expanding the metal and loosening it.
- Penetrating Oil: Apply penetrating oil to the threads and let it sit for several minutes before attempting removal.
- Custom-Made Tool: Fashion a makeshift key using a sturdy material like a coat hanger.
These techniques require patience but can effectively resolve tough cases.
Preventing Future Aerator Problems
Once you successfully open an aerator without a key, take preventive steps to avoid future issues:
- Clean the aerator regularly to remove debris and mineral deposits.
- Apply plumber’s grease to the threads for smoother removal.
- Store the aerator key in a safe, accessible location.
Proper maintenance extends the lifespan of both the aerator and the faucet.
Reinstalling the Aerator
After cleaning or replacing the aerator, reinstall it properly:
- Screw the aerator back into place by hand.
- Tighten gently with pliers or a wrench, avoiding over-tightening.
- Test the faucet to ensure smooth water flow and no leaks.
Reinstallation is as important as removal to maintain the faucet’s functionality.
Conclusion: Open an Aerator Without a Key
Learning how to open an aerator without a key is an essential skill for any homeowner. Whether it’s mineral deposits, wear, or a misplaced key, knowing alternative removal techniques can save you frustration and ensure proper faucet maintenance.
By using household tools, natural solutions like vinegar, and preventive measures, you can handle stuck aerators with ease. Remember, patience and care are key to avoiding damage during the process. Keep these methods in mind, and you’ll be prepared for any aerator-related challenge.
Share this:
- Click to share on Facebook (Opens in new window) Facebook
- Click to share on X (Opens in new window) X
- Click to share on LinkedIn (Opens in new window) LinkedIn
- Click to share on Reddit (Opens in new window) Reddit
- Click to share on X (Opens in new window) X
- Click to share on Threads (Opens in new window) Threads
- Click to share on WhatsApp (Opens in new window) WhatsApp