How to Fix a Ceiling Fan Switch: The Complete Guide
Ceiling fans are an essential part of many homes, providing comfort and cooling during warm weather. However, over time, you might face issues with the ceiling fan switch, such as it not working properly or failing altogether. If you’re dealing with a malfunctioning switch, you may wonder how to fix a ceiling fan switch without having to hire an electrician. Fortunately, fixing a ceiling fan switch is a task that most homeowners can handle themselves, given the right tools and some basic knowledge.
In this comprehensive guide, we will walk you through the entire process of fixing a ceiling fan switch. Whether you’re dealing with a faulty pull chain or a wall-mounted switch, we’ve got you covered. From troubleshooting common issues to providing step-by-step instructions for repairing or replacing the switch, this article will ensure you’re well-equipped to fix a ceiling fan switch on your own.
By the end of this guide, you’ll be able to identify the problem with your ceiling fan switch, determine whether it needs repair or replacement, and complete the job safely and efficiently. Remember, safety is key when working with electrical components, so always follow the necessary precautions when attempting repairs.
Understanding the Common Problems with Ceiling Fan Switches
Before diving into the actual repair process, it’s important to first understand the most common issues associated with ceiling fan switches. Knowing the problem you’re facing will help you determine the right course of action. Below are some common issues that may lead you to fix a ceiling fan switch:
Faulty Pull Chain
A pull chain is a typical mechanism found on ceiling fans. Over time, the chain can wear out or become tangled, preventing the switch from working correctly. If the chain gets stuck, you may not be able to change the fan’s speed settings or turn it on or off.
Loose or Disconnected Wiring
Ceiling fan switches are connected to wires that control the power supply. If these wires become loose or disconnected, the switch might not function as intended. This is a relatively simple issue to address, but it does require careful handling.
Broken or Damaged Switch Mechanism
The switch mechanism itself can sometimes become damaged, especially if it’s subjected to heavy use. In this case, the switch might still be intact, but it may not be able to handle the electrical current properly. If this is the issue, replacing the switch may be necessary.
Obstructions in the Switch Housing
In some cases, dirt, dust, or other debris can accumulate inside the switch housing, causing the mechanism to jam. If the switch feels stiff or unresponsive, it may be worth checking for any obstructions that need to be cleared out.
Power Issues
Occasionally, the issue with the ceiling fan switch isn’t the switch itself, but the power supply. If the fan is completely unresponsive, it’s worth checking whether the circuit breaker has tripped or if there’s a power outage in the area.
Understanding these issues will help you troubleshoot the problem effectively before you begin repairing the switch.
Tools and Materials You’ll Need to Fix a Ceiling Fan Switch
Before you attempt to fix a ceiling fan switch, make sure you have the right tools and materials at your disposal. Below is a list of items that will make the job easier:
- Screwdrivers: You’ll need both flat-head and Phillips-head screwdrivers to remove the ceiling fan cover and access the switch.
- Replacement Switch: Depending on the type of switch you’re replacing (e.g., pull chain or wall-mounted), make sure to buy the correct replacement part.
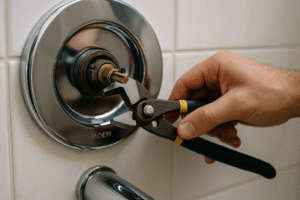
- Wire Cutters/Strippers: These tools are used to cut and strip wires, especially if you need to remove or replace damaged wiring.
- Voltage Tester: A voltage tester is essential for ensuring that no electricity is running through the circuit before you begin work.
- Electrical Tape: Use electrical tape to secure any loose wires and prevent them from touching metal surfaces.
- Ladder: Depending on the height of your ceiling, you may need a ladder to safely access the fan switch.
- Multimeter: This tool is useful for checking electrical continuity in the switch and wires.
By ensuring you have these tools on hand, you can proceed with the repair with confidence.
Step-by-Step Instructions on How to Fix a Ceiling Fan Switch
Now that we’ve covered the basic understanding and preparation, let’s get into the specifics of fixing a ceiling fan switch. Follow these steps carefully to ensure a safe and successful repair.
Step 1: Turn Off the Power
Safety is the most important factor when dealing with electrical components. Before doing any work on the ceiling fan, turn off the power at the circuit breaker. This will prevent any risk of electrical shock while you are working on the switch. After turning off the power, use a voltage tester to double-check that the fan is not receiving power.
Step 2: Remove the Ceiling Fan Cover
Once you’ve confirmed that the power is off, it’s time to remove the cover of the ceiling fan. Use a screwdriver to unscrew the cover from the fan housing. In some cases, you may need to remove a decorative canopy or light fixture to access the switch.
Step 3: Identify the Type of Switch
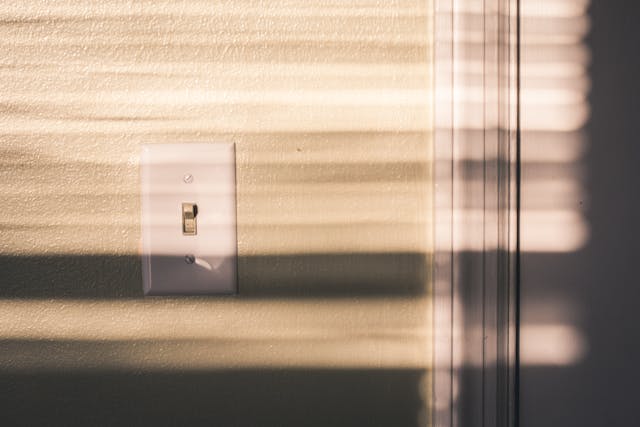
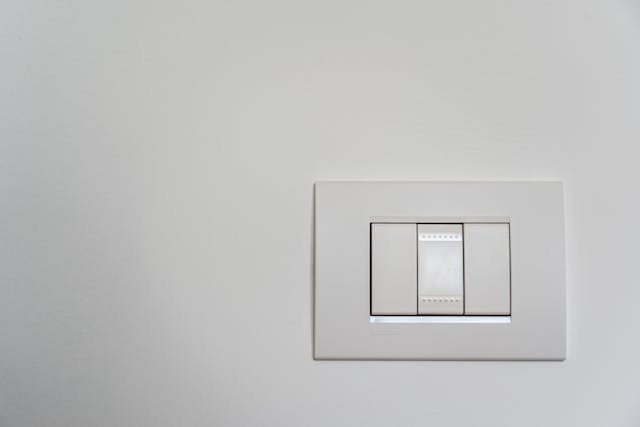
Ceiling fans can use various types of switches, including pull chains, wall switches, and remote controls. Before you proceed, it’s important to identify the type of switch in your fan. A pull chain is the most common, but if your fan uses a wall-mounted switch, the process will be slightly different. Refer to your fan’s manual if you’re unsure about the switch type.
Step 4: Inspect the Wiring
Once you have access to the switch, inspect the wiring carefully. Look for any loose, frayed, or burnt wires. If the wiring appears damaged or disconnected, you may need to reattach it or replace it entirely. Take note of the wiring configuration before making any changes, as it’s crucial to connect the wires correctly.
Step 5: Remove the Faulty Switch
If the switch is faulty or broken, it’s time to remove it. Unscrew the switch from the fan housing, then disconnect the wires. Use a picture or diagram to help you remember how the wires are connected. If necessary, use wire cutters to remove the old switch.
Step 6: Install the New Switch
After removing the old switch, it’s time to install the new one. Connect the wires to the new switch, ensuring that each wire is attached to the correct terminal. Tighten the screws to secure the switch in place. If you’re installing a pull chain switch, make sure the chain is connected properly.
Step 7: Test the New Switch
Once the new switch is installed, it’s time to test it. Turn the power back on at the circuit breaker and check the fan’s functionality. Test the switch by turning the fan on and adjusting the speed. If the switch works correctly, proceed to the next step.
Step 8: Reassemble the Fan
Once you’ve confirmed the new switch is working, reassemble the fan by replacing the cover and securing it with screws. Ensure that everything is tight and secure before finishing the job.
Conclusion: How to Fix a Ceiling Fan Switch
Fixing a ceiling fan switch is a straightforward process that can be done by most homeowners. By following the steps outlined in this guide, you can quickly and easily replace a faulty or malfunctioning switch. Remember to always prioritize safety by turning off the power before beginning any work. With the right tools and knowledge, you can restore your ceiling fan to its full functionality and avoid costly repairs from a professional.
FAQ
1. How do I know if the ceiling fan switch is broken?
If your fan doesn’t respond when you flip the switch or the switch feels loose or stiff, it may be broken and in need of replacement.
2. Can I fix the ceiling fan switch myself?
Yes, fixing a ceiling fan switch is a simple DIY task that most homeowners can handle with the right tools and knowledge.
3. How do I replace a pull chain switch?
To replace a pull chain switch, follow the steps outlined above, ensuring you disconnect the old switch, connect the new one properly, and test its functionality before reassembling the fan.
4. What if the fan still doesn’t work after replacing the switch?
If the fan doesn’t work after replacing the switch, the issue may lie with the wiring or the fan motor. You may need to troubleshoot further or consult an electrician.
Share this:
- Click to share on Facebook (Opens in new window) Facebook
- Click to share on X (Opens in new window) X
- Click to share on LinkedIn (Opens in new window) LinkedIn
- Click to share on Reddit (Opens in new window) Reddit
- Click to share on X (Opens in new window) X
- Click to share on Threads (Opens in new window) Threads
- Click to share on WhatsApp (Opens in new window) WhatsApp