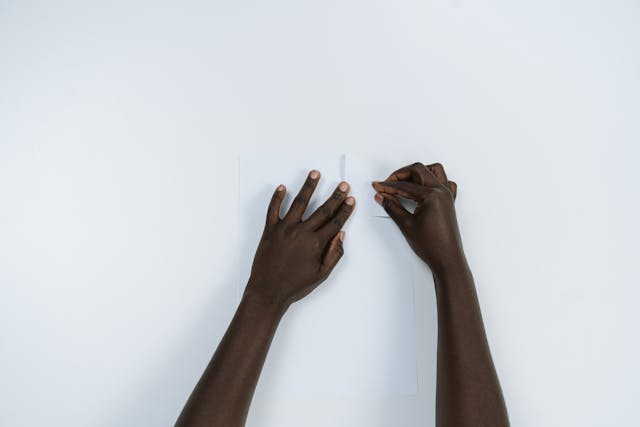
Crafting is an age-old hobby that sparks creativity and offers endless possibilities, especially when working with something as simple yet versatile as paper. One of the most fascinating projects is learning how to make a paper gun. Whether for a school project, playful decoration, or an exercise in origami, creating a paper gun combines artistry with ingenuity.
In this detailed guide, we’ll dive into the steps required to craft various types of paper guns. From the simplest designs to more intricate folding techniques, you’ll gain the knowledge and confidence to master this craft. Along the way, we’ll explore tips, troubleshooting advice, and fun ways to customize your creations.
The Materials You’ll Need To Make a Paper Gun
Before beginning your journey to learn how to make a paper gun, gather the following materials:
- Paper: Standard A4 sheets or lightweight origami paper.
- Scissors: For specific designs that require cutting.
- Glue or Tape: For added stability in complex models.
- Markers or Paints: To add personal touches and unique details.
By using these materials, you’ll be well-prepared to tackle the various designs presented in this guide.
Exploring the Basics
Understanding the fundamentals of paper folding is crucial before you start.
- Precision Matters: Each fold must be neat and exact to ensure the gun functions as intended.
- Know the Types of Paper Guns: From simple models that resemble pistols to intricate designs with moving parts, choose a style that matches your skill level.
Once you’ve grasped these basics, you’re ready to dive into the creative process of how to make a paper gun.
Step-by-Step Instructions
Creating a Basic Paper Gun
Start with Two Sheets of Paper
Fold one sheet lengthwise to create the barrel and the second sheet into a smaller fold for the handle.Secure the Folds
Use glue or tape to keep the shapes intact.Combine the Parts
Attach the handle to the barrel securely to complete your first basic paper gun.
This beginner-friendly approach provides an excellent introduction to how to make a paper gun while building foundational skills.
Advancing to a Foldable Paper Gun
Once you’ve mastered the basic design, challenge yourself with a foldable version.
- Prepare a Single Sheet
Fold the paper into accordion-like sections. - Create a Trigger
Add a small folded piece to simulate a trigger mechanism. - Customize
Draw designs or patterns to make your gun stand out.
This version showcases your growing expertise in how to make a paper gun and encourages personalization.
Enhancing Durability
Paper guns can be fragile, but with a few adjustments, you can create sturdier models:
- Use cardstock or heavier paper.
- Reinforce key areas with tape.
- Experiment with origami techniques that lock folds in place.
These steps ensure that your skills in how to make a paper gun translate into durable and impressive creations.
Incorporating Moving Parts
For an advanced challenge, try designing a paper gun with moving parts:
- Barrel Movement: Fold additional layers to create a sliding mechanism.
- Trigger Functionality: Use small, precise folds to make a working trigger.
Adding these dynamic elements not only enhances your design but also showcases the possibilities of learning how to make a paper gun.
Troubleshooting Common Issues
When creating a paper gun, you might encounter:
- Torn Paper: Always fold gently to avoid tearing.
- Misaligned Folds: Take time to align edges perfectly before pressing folds.
- Structural Weakness: Reinforce with glue or tape to improve durability.
Addressing these challenges ensures a smooth crafting experience as you explore how to make a paper gun.
Customizing Your Paper Gun
Adding personal touches makes your paper gun unique:
- Decorate with markers or paints.
- Use patterned or colored paper.
- Add details like grips or sights for realism.
Customization is a fun way to express creativity and deepen your engagement with how to make a paper gun.
Exploring Variations
Beyond the traditional paper gun, experiment with:
- Origami-Inspired Designs: Create intricate models using advanced folding techniques.
- 3D Effects: Add layers to give your gun a realistic appearance.
- Multi-Part Models: Assemble multiple pieces for larger, more complex designs.
These variations keep the craft of learning how to make a paper gun exciting and challenging.
Sharing Your Creations
Crafting is even more enjoyable when shared:
- Teach Friends and Family: Host a crafting session to show others how to make a paper gun.
- Display Your Work: Create a showcase for your completed models.
- Join Communities: Share your designs online for inspiration and feedback.
By involving others, you’ll spread the joy of learning how to make a paper gun while building connections.
Conclusion: How to Make a Paper Gun
Learning how to make a paper gun is a journey of creativity, skill, and fun. From simple designs to complex models with moving parts, each creation reflects your growing expertise and imagination.
Whether you’re crafting for fun or teaching others, this timeless activity offers endless opportunities to innovate and express yourself. So grab your paper and start folding—your next masterpiece awaits!
Share this:
- Click to share on Facebook (Opens in new window) Facebook
- Click to share on X (Opens in new window) X
- Click to share on LinkedIn (Opens in new window) LinkedIn
- Click to share on Reddit (Opens in new window) Reddit
- Click to share on X (Opens in new window) X
- Click to share on Threads (Opens in new window) Threads
- Click to share on WhatsApp (Opens in new window) WhatsApp