Creating a paper plane launcher is a fascinating project that combines creativity, fun, and basic engineering principles. If you’ve ever wanted to learn how to make a paper plane launcher, this guide is your ultimate resource. Not only does it offer a hands-on activity, but it also enhances your understanding of mechanics and aerodynamics.
Paper plane launchers are perfect for children and adults alike. They add a new twist to the traditional paper plane, launching it farther and faster. This comprehensive guide will walk you through every step of making a paper plane launcher, incorporating innovative ideas and helpful tips. You’ll also learn how to create paper planes that fly far and explore different designs for the launcher. Let’s dive in and bring your launcher to life!
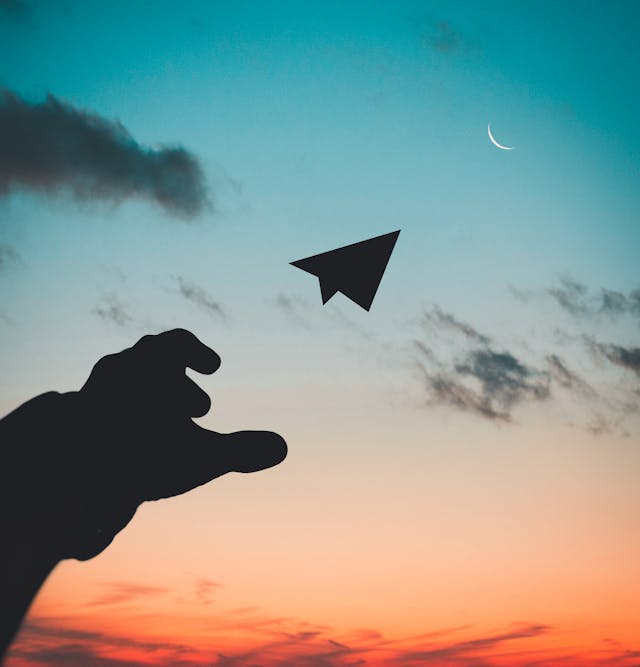
What Makes a Paper Plane Launcher Exciting
Before you get started, let’s understand why a paper plane launcher is a fun and engaging project.
- Creative Outlet: Building a launcher is a chance to unleash your creativity.
- Physics in Action: Experience principles like force, velocity, and aerodynamics.
- Family Fun: A great activity for bonding with children or friends.
- Challenges and Rewards: It’s satisfying to design a launcher and see it work effectively.
These reasons make understanding how to make a paper plane launcher both exciting and educational.
Materials Needed for a Paper Plane Launcher
Before starting, gather the following items:
- Rubber bands
- Cardboard or lightweight wood
- Scissors or a craft knife
- Tape and glue
- Ruler and pencil
- Optional: A small motor for advanced designs
Having these materials ready will make the process of building your launcher much smoother.
Choosing the Best Paper for Your Planes
The type of paper you use impacts the performance of your paper planes. For planes that fly farther:
- Lightweight Paper: Choose thinner sheets for basic designs.
- Heavier Paper: Use cardstock for sturdier planes.
- Recycled Paper: A great eco-friendly option.
Learning how to make a paper plane launcher goes hand-in-hand with crafting planes optimized for the launcher.
Step-by-Step Guide to Building the Launcher
Here’s how to make a simple rubber-band-powered launcher:
- Cut a rectangular base from cardboard or lightweight wood.
- Attach two upright pieces to hold the rubber band in place.
- Loop the rubber band around the uprights.
- Create a launch ramp by angling a piece of cardboard.
- Use tape or glue to secure the ramp to the base.
- Pull the rubber band back, place your plane on the ramp, and release!
This basic design is the foundation for creating a more advanced launcher.
How to Build a Far-Flying Paper Airplane
A far-flying plane complements your launcher perfectly. Follow these steps:
- Take a standard A4 sheet of paper.
- Fold it lengthwise to create a center crease.
- Fold the top corners to the center crease.
- Fold the new top edges to the center again.
- Fold the plane in half along the original crease.
- Create wings by folding down the sides evenly.
Your paper plane is now ready to soar!
Advanced Launcher Designs
For those who want more from their launcher, consider these upgrades:
- Motorized Launchers: Add a small motor to increase speed.
- Adjustable Launch Angle: Improve flight trajectory with an adjustable ramp.
- Multi-Plane Launchers: Build a mechanism to launch multiple planes simultaneously.
These enhancements make your launcher more versatile and exciting.
Troubleshooting Common Problems
If your launcher isn’t working as expected, here’s what to check:
- Rubber Band Tension: Ensure it’s neither too loose nor too tight.
- Ramp Angle: Adjust the angle for better flight paths.
- Plane Design: Experiment with different folding techniques for your planes.
Learning how to make a paper plane launcher involves trial and error, but the results are worth it.
Creative Challenges for Your Launcher
Once you’ve mastered the basics, try these challenges:
- Distance Competition: See whose plane flies the farthest.
- Accuracy Test: Aim for a target and test your precision.
- Custom Designs: Modify your launcher for unique challenges.
These activities add an extra layer of fun to your paper plane adventures.
Benefits of Building a Paper Plane Launcher
Creating a paper plane launcher is more than just a fun project. It also:
- Enhances Creativity: Encourages innovative thinking and problem-solving.
- Teaches STEM Concepts: Offers hands-on experience with physics and engineering.
- Fosters Teamwork: A great collaborative activity for families and friends.
Understanding how to make a paper plane launcher combines fun with education, making it an ideal activity for all ages.
Conclusion: How to Make a Paper Plane Launcher
Mastering how to make a paper plane launcher opens up a world of creativity and fun. From choosing the best materials to building advanced designs, this guide has covered it all. Whether you’re crafting a simple rubber-band launcher or experimenting with motorized versions, the journey is both educational and rewarding.
Building a paper plane launcher doesn’t just teach you mechanical skills—it also brings joy, creativity, and endless possibilities. So gather your materials, follow the steps, and let your paper planes soar to new heights!
Share this:
- Click to share on Facebook (Opens in new window) Facebook
- Click to share on X (Opens in new window) X
- Click to share on LinkedIn (Opens in new window) LinkedIn
- Click to share on Reddit (Opens in new window) Reddit
- Click to share on X (Opens in new window) X
- Click to share on Threads (Opens in new window) Threads
- Click to share on WhatsApp (Opens in new window) WhatsApp