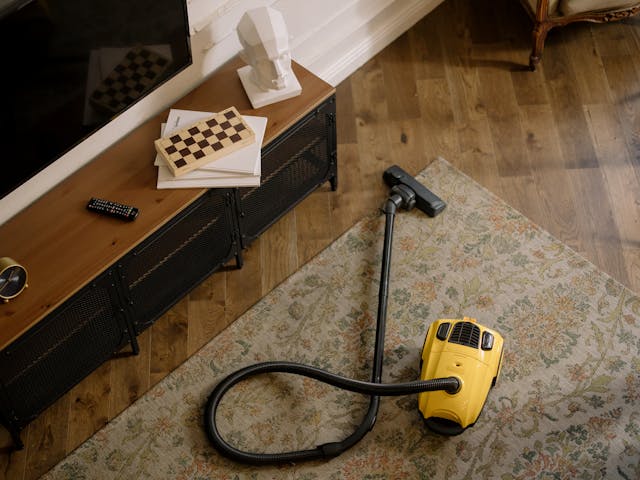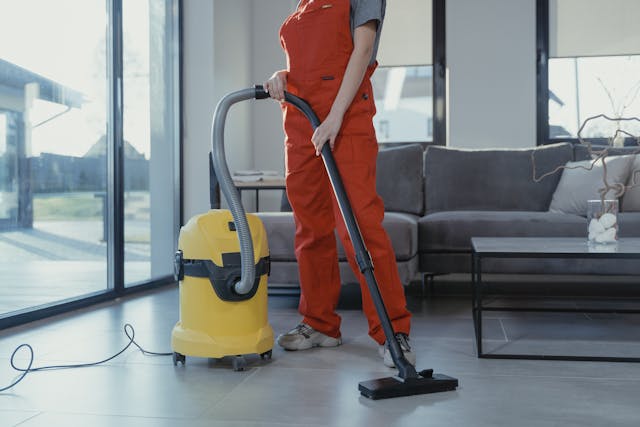
Keeping your home clean and dust-free often starts with the tools you use, and your vacuum cleaner is undoubtedly one of the most vital. However, to maintain its performance, regular vacuum head cleaning is essential. The vacuum head, responsible for picking up dirt, hair, and debris, can quickly become clogged, reducing the machine’s efficiency.
Vacuum head cleaning is not just about improving suction power; it also ensures the longevity of your appliance and maintains the hygiene of your living space. Neglecting this simple maintenance task can lead to poor cleaning results, unnecessary wear and tear, and even unpleasant odors.
This guide will walk you through ten comprehensive steps to master the art of vacuum head cleaning. From understanding the importance of maintenance to advanced cleaning techniques, we’ll ensure your vacuum remains in top condition. Whether you’re a cleaning enthusiast or simply looking to extend the life of your vacuum, these tips will make a noticeable difference.
Let’s dive in and uncover the secrets to efficient vacuum-head cleaning that transforms your cleaning routine!
Understanding the Importance of Vacuum Head Cleaning
Vacuum-head cleaning is crucial for several reasons:
- Efficiency: A clogged vacuum head reduces suction power, making cleaning less effective.
- Hygiene: Dust and debris buildup can lead to unpleasant odors and spread allergens.
- Durability: Regular cleaning prevents wear and tear, extending the vacuum’s lifespan.
By maintaining a clean vacuum head, you’ll save time, effort, and money in the long run.
Identifying Signs Your Vacuum Head Needs Cleaning
Recognizing when it’s time for vacuum head cleaning is vital:
- Reduced Suction: If your vacuum struggles to pick up debris, the head may be clogged.
- Unpleasant Odors: Lingering smells often indicate trapped dirt or hair.
- Visible Dirt Residue: If debris remains on the floor after vacuuming, cleaning the head is necessary.
Timely vacuum head cleaning ensures your appliance performs at its best.
Gathering the Right Tools for Vacuum Head Cleaning
Proper tools make vacuum-head cleaning easier and more effective:
- Screwdriver: Useful for disassembling the vacuum head.
- Scissors: Cut away tangled hair and fibers.
- Soft Brush: Clean delicate parts without causing damage.
- Compressed Air: Blow out stubborn dust and debris.
Having these tools on hand simplifies the cleaning process.
Step-by-Step Guide to Vacuum Head Cleaning
Follow these steps for thorough vacuum-head cleaning:
- Unplug the Vacuum: Always disconnect from power to ensure safety.
- Disassemble the Head: Remove brushes and rollers for detailed cleaning.
- Remove Tangled Debris: Use scissors to cut away hair and threads.
- Clean Brushes: Wash with warm, soapy water and let them dry completely.
- Inspect for Blockages: Check air pathways and remove any obstructions.
- Reassemble Carefully: Ensure all parts are securely reattached.
Completing these steps regularly will keep your vacuum in peak condition.
Troubleshooting Common Vacuum Head Issues
Even with regular vacuum head cleaning, issues may arise:
- Persistent Blockages: Use a flexible cleaning tool to clear deep clogs.
- Damaged Brushes: Replace worn-out brushes to maintain performance.
- Unusual Noises: Check for loose parts or trapped debris causing disruptions.
Addressing these problems promptly minimizes downtime and ensures effectiveness.
Enhancing Vacuum Head Cleaning with DIY Techniques
Creative, cost-effective methods can improve vacuum head cleaning results:
- Baking Soda Scrub: Removes stubborn dirt and neutralizes odors.
- Vinegar Spray: Dissolves grime and disinfects surfaces.
- Homemade Detangling Tool: A bent wire hanger works wonders for hard-to-reach areas.
Incorporating these hacks simplifies maintenance and saves money.
Maintaining Vacuum Head Hygiene
Hygiene is a key aspect of vacuum head cleaning:
- Sanitize Regularly: Use disinfectant wipes on the vacuum head’s exterior.
- Vacuum Storage: Store in a clean, dry place to prevent contamination.
- Replace Filters: Regularly replacing filters complements your vacuum head cleaning efforts.
A hygienic vacuum ensures a healthier living environment.
When to Replace Your Vacuum Head
Sometimes, even meticulous vacuum head cleaning isn’t enough:
- Excessive Wear: Cracked or warped components indicate replacement is needed.
- Inefficient Cleaning: Persistent dirt and poor performance signal it’s time for an upgrade.
- Frequent Repairs: Constant issues may warrant investing in a new vacuum head.
Knowing when to replace saves time and ensures optimal cleaning.
Professional Services for Vacuum Head Cleaning
If DIY efforts aren’t enough, consider professional help:
- Expert Maintenance: Professionals offer in-depth vacuum head cleaning and repair.
- Cost-Effective Solutions: Save on potential replacement costs with professional care.
- Convenient Scheduling: Book services at your convenience for hassle-free cleaning.
Professional services can complement your regular maintenance efforts.
Conclusion: Mastering Vacuum Head Cleaning
Vacuum head cleaning is a vital skill that enhances your vacuum’s efficiency, prolongs its lifespan, and promotes a healthier living environment. By understanding its importance, recognizing when to clean, and following practical steps, you can ensure your vacuum performs like new for years.
Whether using DIY techniques or seeking professional assistance, consistent vacuum head cleaning transforms your cleaning routine, making it faster, more effective, and enjoyable. Embrace the opportunity to master vacuum head cleaning and keep your home spotless with ease!