Crunchyroll is a popular streaming service offering a wide variety of anime, manga, and Asian dramas. However, if you no longer need the service or want to explore other options, you might be wondering how to cancel Crunchyroll membership. This guide will walk you through the entire process step-by-step, ensuring you cancel your membership without complications.
Why You Might Want to Cancel Your Crunchyroll Membership
Crunchyroll provides access to an incredible library of content for anime enthusiasts, but there are several reasons users may want to cancel their memberships:
- Budget Constraints: Subscriptions can add up, and reducing expenses might be necessary.
- Content Preferences: You may have found another service with better offerings for your taste.
- Temporary Pause: If you’re taking a break from streaming, canceling your membership is a smart move.
No matter your reason, learning how to cancel Crunchyroll membership is straightforward, and this article will ensure you’re equipped with all the necessary steps.
How to Cancel Crunchyroll Membership: Step-by-Step Instructions
Step 1: Log In to Your Crunchyroll Account
Start by logging in to your Crunchyroll account through the website or mobile app. Use your email and password to access the account settings, where the cancellation process begins.
Step 2: Navigate to the Account Settings
Once logged in, go to your profile by clicking your avatar in the upper-right corner. Select “Account Settings” from the dropdown menu. This section allows you to manage your subscription details.
Step 3: Locate the Subscription Option
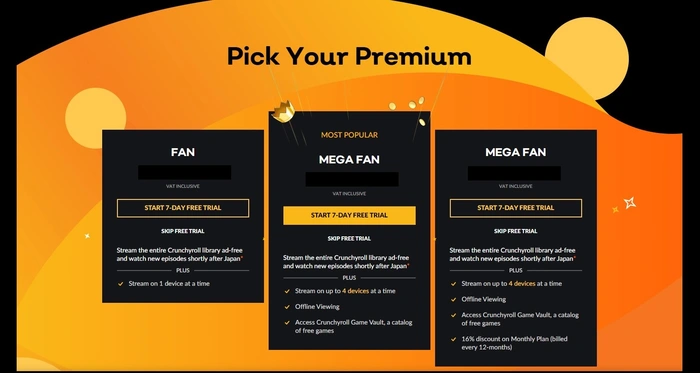
In the “Account Settings” section, find the “Membership” or “Subscription” tab. Here, you’ll see details about your current plan, including its renewal date and billing information.
Step 4: Select the Cancellation Option
Click on the “Cancel Membership” or “Cancel Subscription” button. Crunchyroll may present you with promotional offers to reconsider. Politely decline if you’re determined to proceed.
Step 5: Confirm Your Cancellation
You’ll be prompted to confirm your decision to cancel. Follow the on-screen instructions to finalize the process. Make sure to save or note the confirmation message or email for your records.
Step 6: Verify Your Membership Has Been Canceled
After completing the cancellation process, verify that your membership is no longer active. Return to the subscription tab to check the status. It should indicate the cancellation or the end date of your current billing cycle.
Step 7: Remove Billing Information (Optional)
To avoid accidental reactivation, you may choose to remove your payment method from your Crunchyroll account. However, note that some services require active billing details for account retention.
Common Issues When Canceling Crunchyroll Membership
While the process is straightforward, some users encounter challenges. Here’s how to address them:
- Unable to Locate the Cancellation Button: This can happen if you subscribed via a third-party service like Google Play or iTunes. In this case, cancel the subscription through the respective platform.
- Unexpected Charges After Cancellation: Ensure you cancel before the billing date to avoid additional charges. Check your email for confirmation of the cancellation.
- Technical Glitches: If the website or app isn’t working, try canceling on a different device or clearing your browser cache.
How to Cancel Crunchyroll Membership Through Third-Party Services
If you subscribed to Crunchyroll through platforms like Google Play, iTunes, or Roku, the cancellation process varies.
- Google Play: Open the Google Play Store, go to “Subscriptions,” select Crunchyroll, and cancel the subscription.
- iTunes/App Store: Navigate to your Apple ID settings, choose “Subscriptions,” find Crunchyroll, and cancel.
- Roku: Access your Roku account online, go to “Manage Subscriptions,” and select Crunchyroll for cancellation.
Knowing how to cancel Crunchyroll membership through these platforms ensures you won’t face unnecessary charges.
How to Delete a Crunchyroll Account
If you want to go a step further and delete your account entirely, here’s how:
- Log in to your Crunchyroll account.
- Navigate to the “Account Settings” section.
- Look for the “Delete Account” option.
- Follow the prompts to confirm the deletion.
Keep in mind that deleting your account permanently removes all data, including your watch history and preferences.
Tips for Managing Streaming Subscriptions
Canceling your Crunchyroll membership might inspire you to reevaluate other subscriptions. Here are some tips:
- Use a Subscription Tracker: Apps like Truebill can help you monitor and manage subscriptions.
- Pause Instead of Canceling: If you’re uncertain about canceling, check if Crunchyroll offers a pause feature for temporary breaks.
- Evaluate Your Viewing Habits: Assess how often you use each service to determine if it’s worth the cost.
Conclusion: Is Canceling Crunchyroll the Right Choice?
Learning how to cancel Crunchyroll membership empowers you to take control of your subscriptions and manage your finances effectively. Whether you’re switching to another service, taking a break, or cutting costs, this step-by-step guide ensures a smooth cancellation process.
Remember to verify the cancellation and watch for any remaining billing cycles. If you subscribed through a third-party platform, ensure you follow the appropriate steps for that service.
Crunchyroll has a lot to offer, but if it’s time to move on, this guide has you covered.
Share this:
- Click to share on Facebook (Opens in new window) Facebook
- Click to share on X (Opens in new window) X
- Click to share on LinkedIn (Opens in new window) LinkedIn
- Click to share on Reddit (Opens in new window) Reddit
- Click to share on X (Opens in new window) X
- Click to share on Threads (Opens in new window) Threads
- Click to share on WhatsApp (Opens in new window) WhatsApp