Why You Should Learn to Fix a Broken Belt Buckle at Home
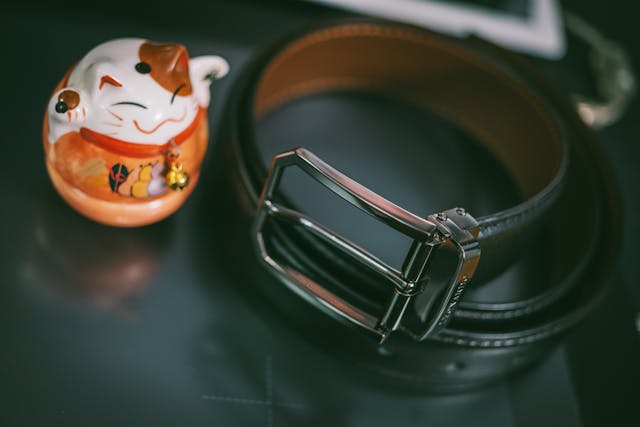
A broken belt buckle can be a frustrating inconvenience, but the good news is that you don’t need to rush out to buy a new belt or visit a repair shop. Learning how to fix a broken belt buckle at home is not only a practical skill but also a cost-effective solution that can extend the life of your favorite accessory. With the right tools, techniques, and a little patience, you can restore your belt buckle to its original functionality in no time.
Fixing a belt buckle at home isn’t just about saving money—it’s also an opportunity to reduce waste and embrace a sustainable lifestyle. Rather than discarding an item that’s otherwise in great condition, you can breathe new life into it with a simple repair. Additionally, mastering the ability to fix a broken belt buckle at home empowers you to handle similar small repairs, fostering independence and resourcefulness.
This guide provides detailed steps to help you tackle this task effectively. Whether your buckle’s prong is bent, its frame is damaged, or it simply won’t fasten securely, we’ve got you covered. By the end of this article, you’ll have the confidence and skills to fix a broken belt buckle at home with ease.
Identifying the Problem
The first step in learning to fix a broken belt buckle at home is identifying the issue. Common problems include a bent prong, a broken frame, or a loose fastening mechanism. Carefully inspect your buckle to pinpoint the exact issue.
Knowing what you’re dealing with allows you to choose the appropriate tools and techniques for repair, ensuring a successful outcome.
Gathering Tools and Materials
Having the right tools on hand makes it much easier to fix a broken belt buckle at home. Essential items include:
- Needle-nose pliers
- A small screwdriver
- Epoxy or strong adhesive
- Sandpaper
- Replacement parts (if necessary)
Assembling these items beforehand ensures a smoother repair process.
Removing the Belt Buckle
To effectively fix a broken belt buckle at home, start by removing the buckle from the belt. Most buckles are attached via screws or snaps. Use a small screwdriver or your hands to detach it carefully.
This step gives you better access to the buckle for a more thorough repair.
Repairing a Bent Prong
If the prong is bent, use needle-nose pliers to straighten it gently. Grip the prong firmly and apply steady pressure until it returns to its original shape. Avoid using excessive force, which could cause further damage.
Fixing a prong is one of the simplest ways to fix a broken belt buckle at home, restoring its functionality in minutes.
Fixing a Damaged Frame
A cracked or broken frame requires a more involved approach. Use epoxy or a strong adhesive to bond the broken pieces together. Sand the edges lightly to ensure a smooth fit before applying the glue.
Allow the adhesive to cure fully for maximum strength. This step is crucial for a successful outcome when you fix a broken belt buckle at home.
Tightening Loose Screws
Loose screws are another common issue. Tighten them using a small screwdriver. If the screws are stripped, replace them with new ones of the same size.
This simple adjustment can make a significant difference when you fix a broken belt buckle at home.
Replacing Missing Components
If your buckle is missing components, such as the prong or screws, sourcing replacement parts is essential. Many hardware stores or online retailers offer affordable replacements.
Once you have the parts, follow the original assembly steps to restore your buckle. This method ensures a complete and functional repair when you fix a broken belt buckle at home.
Polishing and Finishing
After making the necessary repairs, take a moment to polish your belt buckle. Use sandpaper to smooth any rough edges, then buff it with a soft cloth for a polished look.
A well-finished buckle not only functions better but also looks good, completing your effort to fix a broken belt buckle at home.
Reattaching the Belt Buckle
Once your repairs are complete, reattach the buckle to the belt. Ensure it’s securely fastened and operates smoothly. Test its functionality by fastening and unfastening the belt several times.
This final step ensures your repair is successful and your buckle is ready for use.
Maintaining Your Belt Buckle
Regular maintenance can help you avoid future issues. Clean your buckle periodically, tighten screws as needed, and handle it with care to extend its lifespan.
These simple habits can save you time and effort in the long run, complementing your ability to fix a broken belt buckle at home.
Conclusion: Confidence in Every Repair
Learning to fix a broken belt buckle at home is a practical skill that saves money, reduces waste, and extends the life of your accessories. With the right tools, techniques, and a bit of patience, you can handle a variety of buckle issues, from bent prongs to damaged frames.
By following this comprehensive guide, you’ve gained the knowledge and confidence to tackle these repairs effectively. Whether it’s a minor adjustment or a more involved fix, you now have the skills to handle it all.
The ability to fix a broken belt buckle at home empowers you to embrace a sustainable and resourceful lifestyle. Not only do you avoid unnecessary expenses, but you also contribute to reducing waste—a small but meaningful step toward a greener planet.
Take pride in your newfound skills and apply them to future challenges. With this knowledge, you’re well-equipped to handle similar repairs and maintain your belongings for years to come.