Introduction: Why Learning How to Clean Thermocouple Matters
If your gas furnace, water heater, or fireplace keeps shutting off unexpectedly, the culprit is often a dirty thermocouple. This small yet critical component senses whether the pilot light is lit and allows gas to flow safely. Over time, dust, soot, and carbon buildup can coat the sensor, making it less responsive. That’s why knowing how to clean thermocouple is an essential skill for homeowners and DIY enthusiasts. Cleaning restores accurate readings, improves appliance efficiency, and prevents unnecessary service calls.
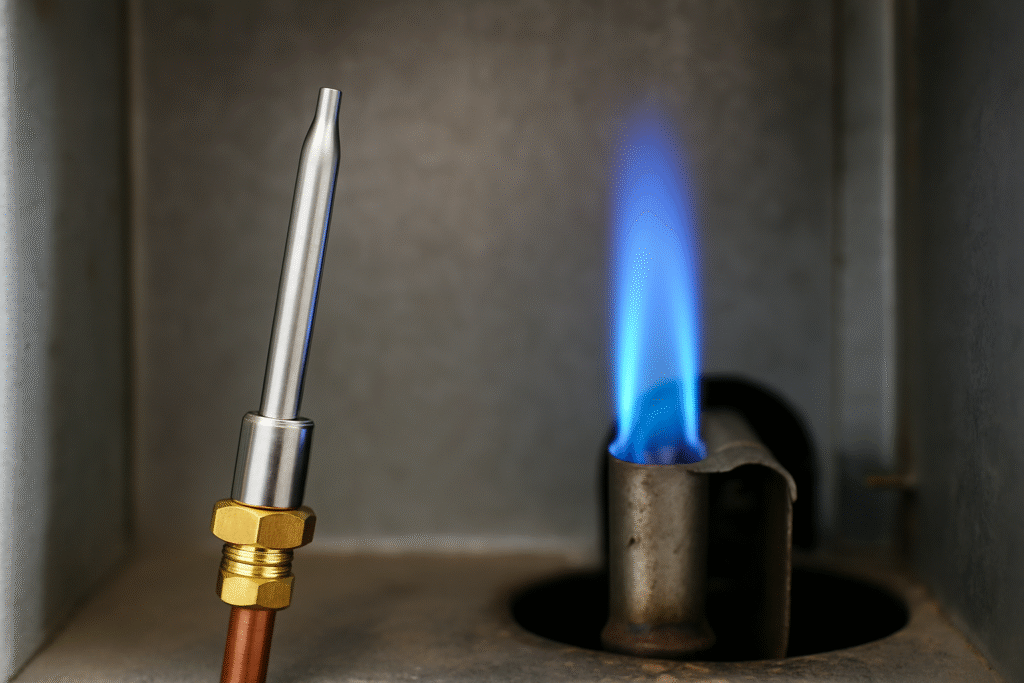
A thermocouple works by generating a small electrical current when exposed to heat. If dirt or corrosion interferes, it cannot send the right signal, causing the system to shut down as a safety precaution. While this feature prevents gas leaks, it can also leave you frustrated when your appliance won’t stay on. Fortunately, cleaning the thermocouple is simple, inexpensive, and requires only basic tools. By taking a few minutes to maintain it, you can extend the life of your gas appliance and ensure safe operation.
In this guide, you’ll learn the step-by-step process of how to clean thermocouple safely and effectively. We’ll cover the supplies you need, common mistakes to avoid, alternative cleaning methods, and expert tips to ensure you get the best results. By the end, you’ll have the confidence to handle this small but vital maintenance task on your own and save money in the process.
What You’ll Need Before You Start
Before you begin learning how to clean thermocouple, it’s important to gather the right tools and safety gear. Cleaning this component is not complicated, but preparation ensures the job is done safely and effectively without damaging the sensor or surrounding parts of your appliance. Having everything on hand also makes the process quicker and more convenient.
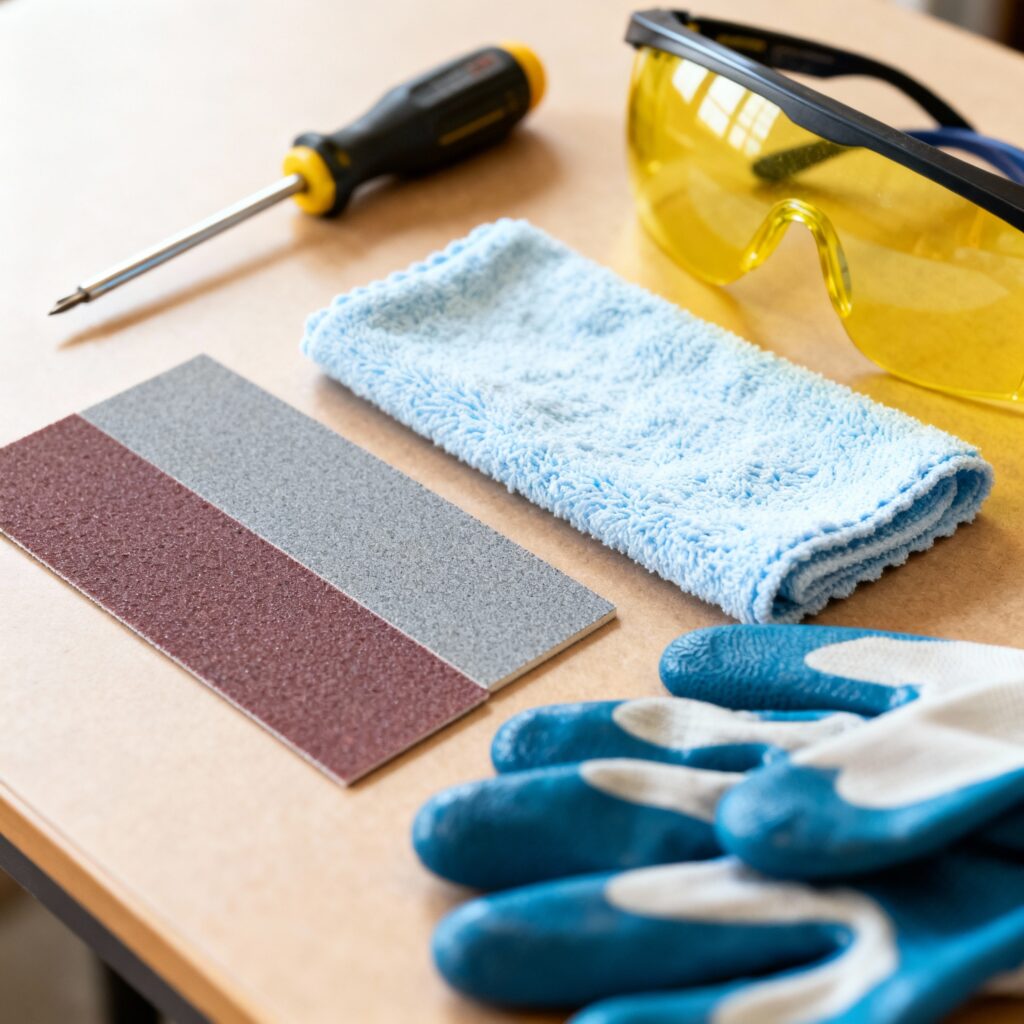
The most essential tool you’ll need is a screwdriver or wrench to access the thermocouple inside your furnace, water heater, or gas fireplace. Depending on the model, you may need a Phillips screwdriver, flathead, or small adjustable wrench to detach the burner assembly. A flashlight or work light is also useful, since thermocouples are often located in dim, tight spaces where visibility is limited.
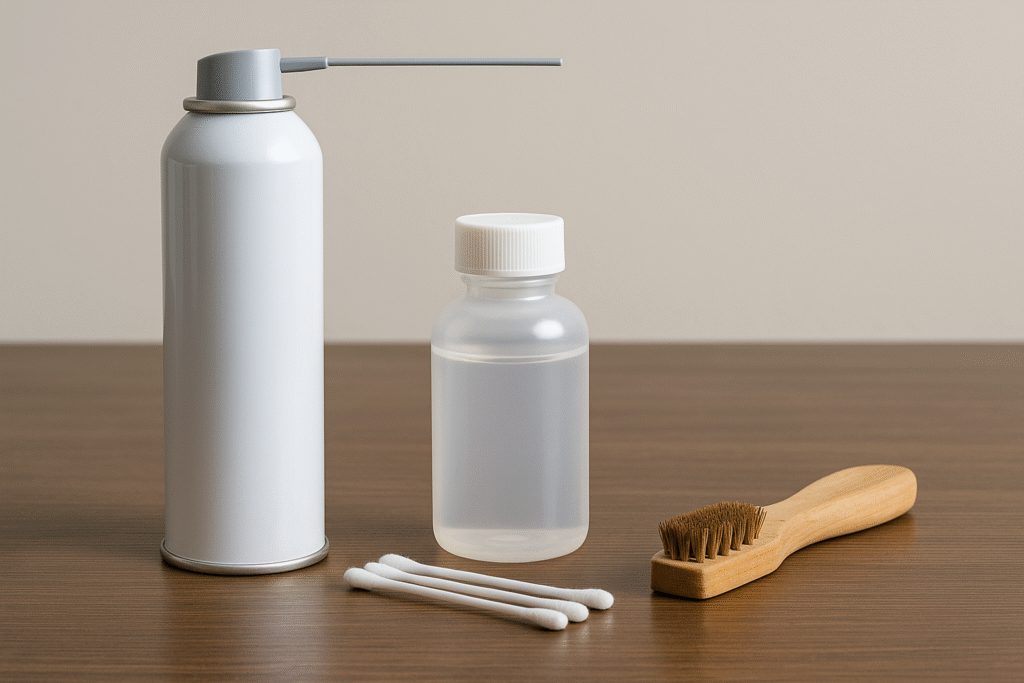
For the actual cleaning, fine-grit sandpaper (400–600 grit), steel wool, or an emery cloth is recommended. These abrasives are gentle enough to remove carbon buildup without scratching the metal surface. A soft, lint-free cloth or microfiber towel will help wipe away dust and debris afterward. In some cases, compressed air can be handy for blowing out dirt from hard-to-reach areas around the assembly.
Safety equipment is just as important. Gloves will protect your hands from soot and sharp edges, while safety glasses prevent dust particles from irritating your eyes. Always ensure the gas supply is turned off before starting the cleaning process. Finally, have a small brush or vacuum nearby to tidy up any loose dirt or debris you encounter. With these supplies ready, you’ll be fully prepared to follow the steps of how to clean thermocouple effectively and safely.
Step 1: Turn Off the Appliance and Access the Thermocouple
The first and most important step in learning how to clean thermocouple is to ensure safety. Before touching any part of your gas appliance, switch off the power supply and turn off the gas valve. This prevents accidental ignition or leaks while you’re working. Give the appliance several minutes to cool if it has been running, since the thermocouple is located near the pilot light and can remain hot after use.
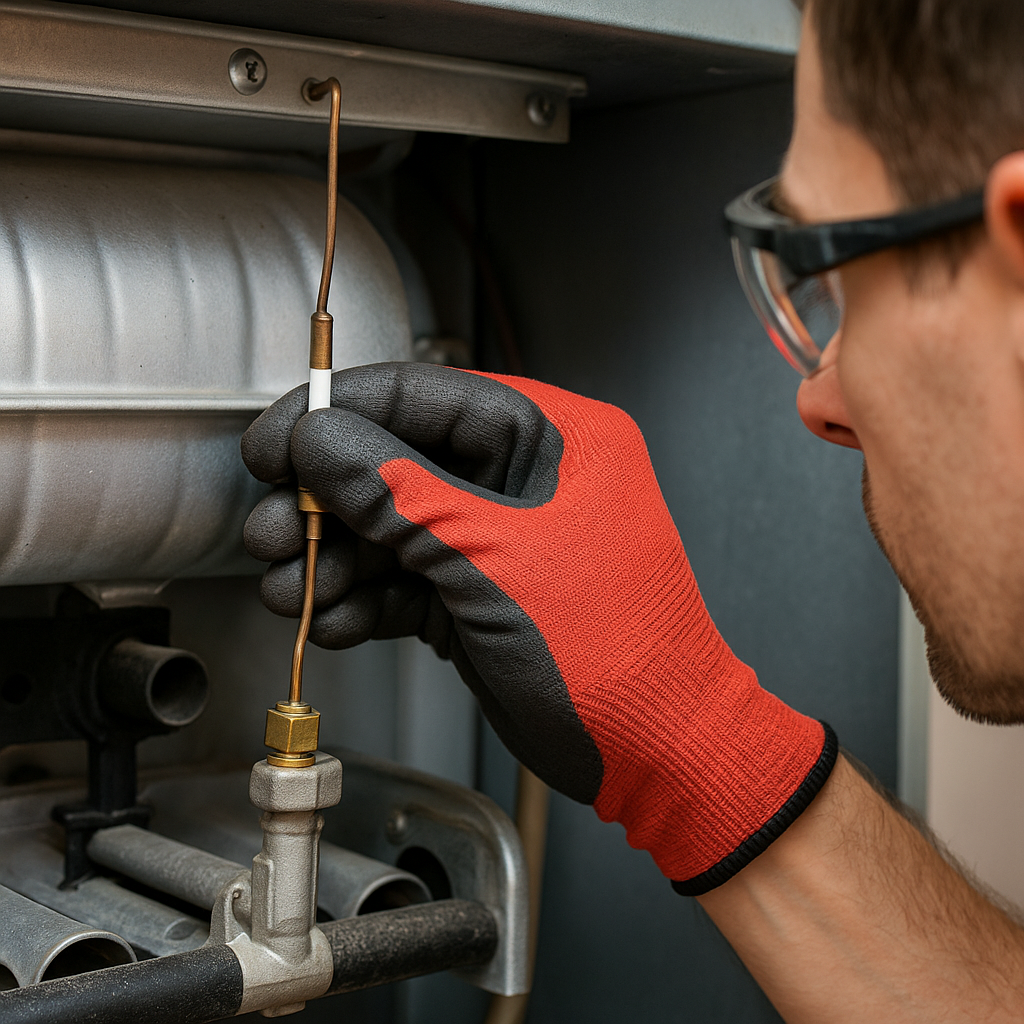
Next, locate the thermocouple. It’s usually a small metal rod positioned close to the pilot flame inside furnaces, water heaters, or fireplaces. In many models, it’s connected to the gas control valve with a thin copper tube. Use a screwdriver or small wrench to remove the burner assembly panel or access cover. A flashlight will help you see the area clearly, especially if the space is dim or tight.
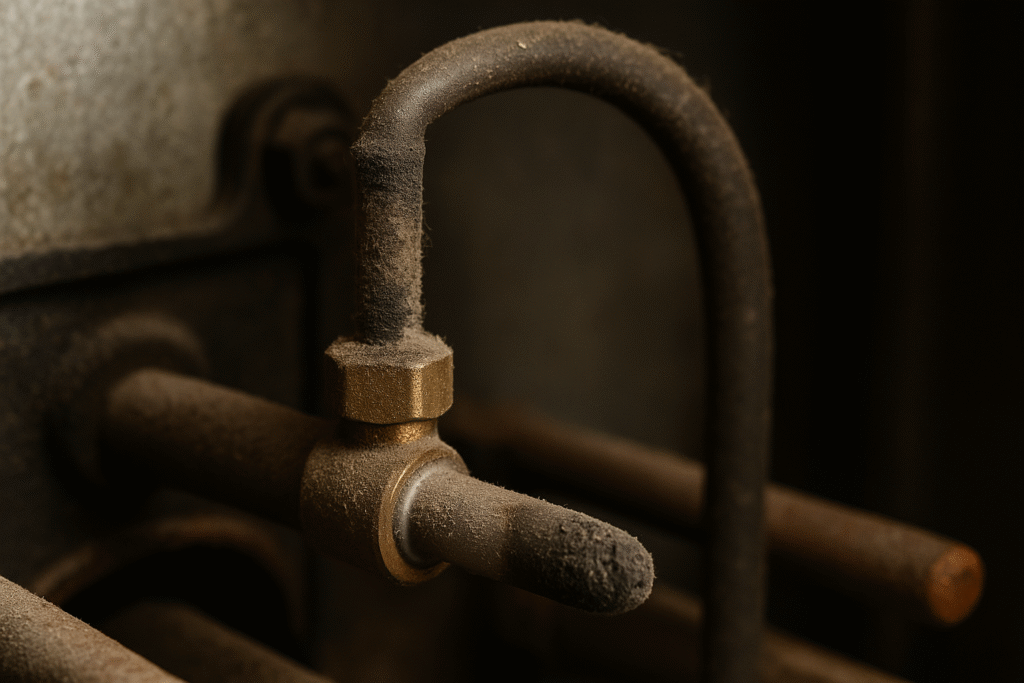
Once you’ve exposed the thermocouple, inspect it visually. Look for black soot, carbon deposits, or dust buildup on the tip, which can interfere with proper function. This buildup is what causes the pilot light to shut off unexpectedly, making cleaning a necessary maintenance step. Be cautious not to tug on wires, tubes, or other components while accessing the thermocouple, as these parts are sensitive and essential for safe operation.
By carefully shutting off the appliance and accessing the thermocouple, you create a safe working environment and set yourself up for a smooth cleaning process. This step ensures that when you continue with how to clean thermocouple, you’ll be working efficiently and without risk of accidents.
Step 2: Clean the Thermocouple Tip Gently
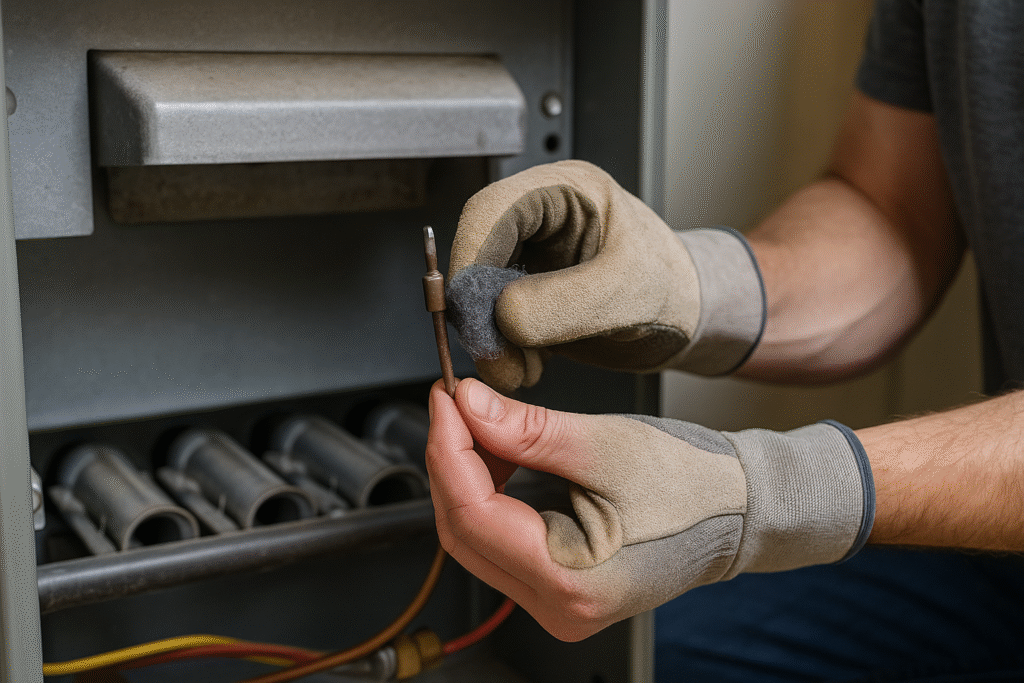
With the thermocouple exposed, the next step in how to clean thermocouple is to gently remove the buildup that interferes with its performance. The tip of the thermocouple is the most important part, as it sits directly in the pilot flame and must remain free of soot and carbon deposits to function correctly. Even a thin layer of residue can prevent it from detecting heat and cause your gas appliance to shut off unexpectedly.
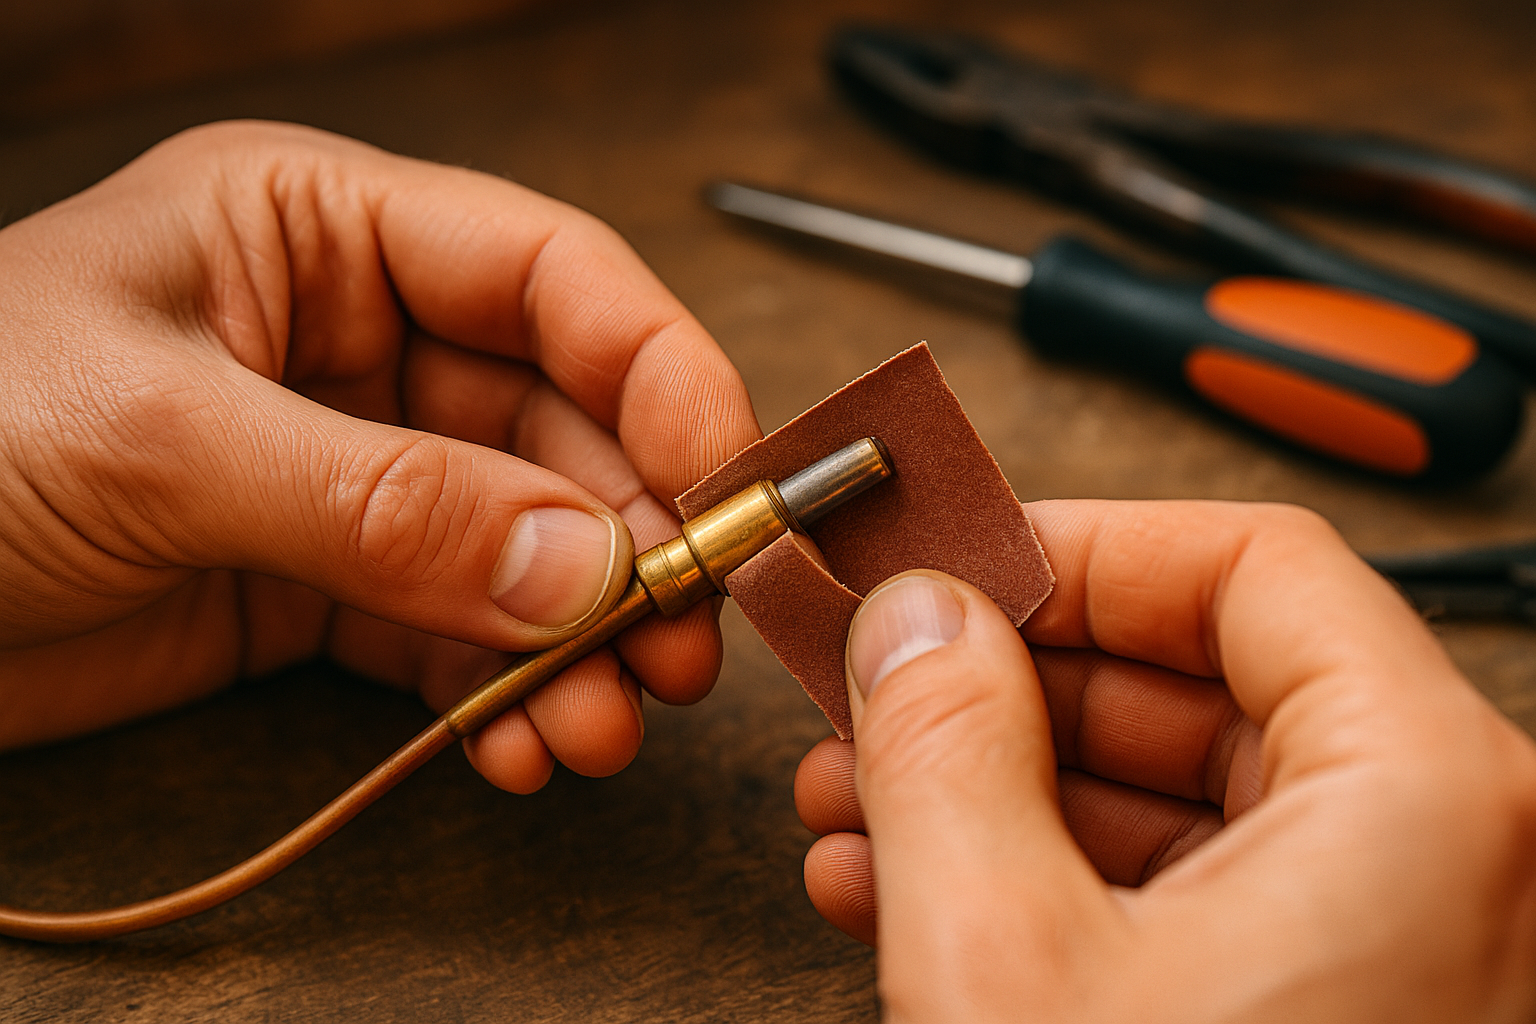
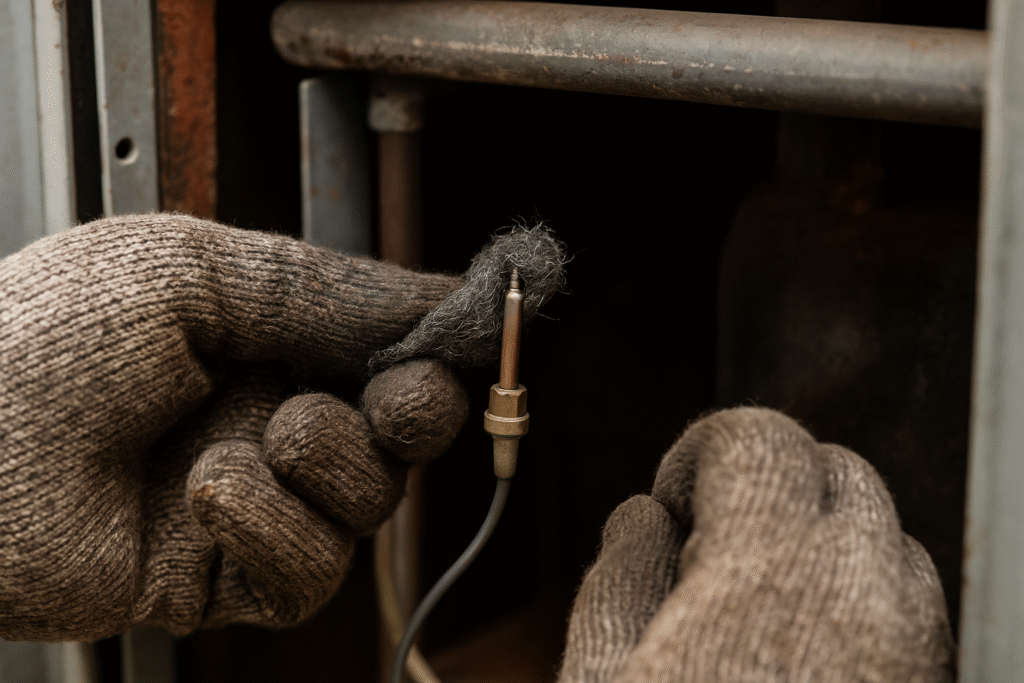
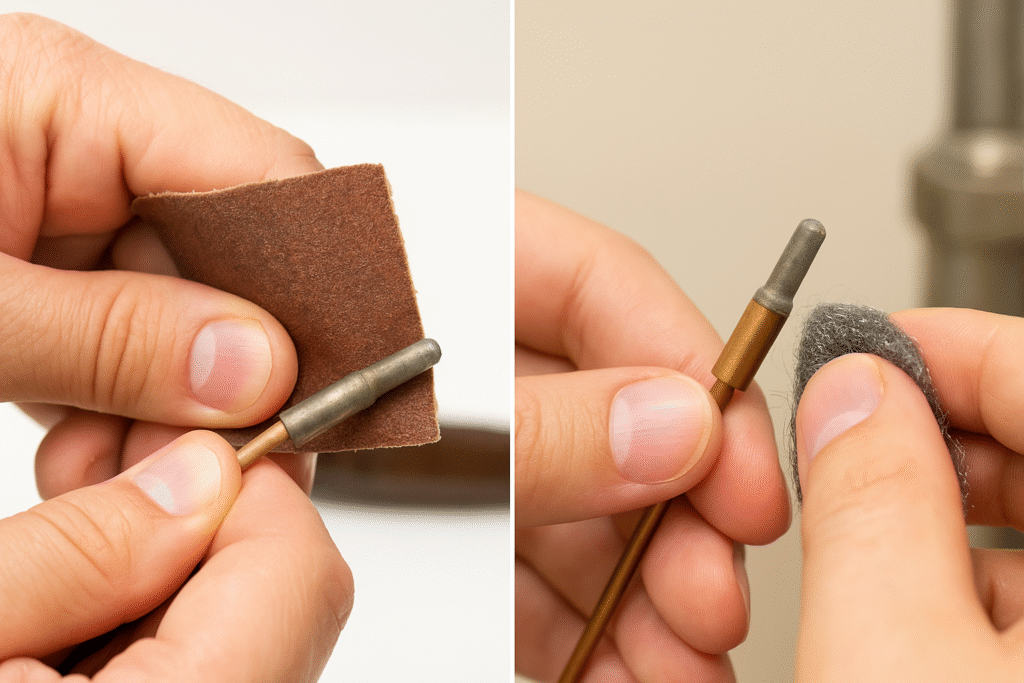
To clean it, use a piece of fine-grit sandpaper (400–600 grit), an emery cloth, or steel wool. Hold the thermocouple steady with one hand and lightly rub the abrasive over the tip in small, even motions. Avoid applying excessive pressure—your goal is to remove surface buildup, not to grind down the metal. Continue until the tip looks shiny and free of soot. Rotate the thermocouple as needed to ensure all sides are cleaned evenly.
For stubborn residue, a few extra passes with the sandpaper may be required, but resist the urge to over-clean, as thinning the thermocouple can shorten its lifespan. Once the tip is clean, wipe it with a soft, lint-free cloth or microfiber towel to remove any dust particles left behind. This ensures the sensor can detect heat accurately when the appliance is restarted.
By gently cleaning the sensor tip, you restore the thermocouple’s ability to provide accurate readings. This step is crucial in mastering how to clean thermocouple, as it directly impacts whether your appliance will run smoothly and safely after reassembly.
Step 3: Reassemble and Test the Appliance
After cleaning the sensor tip, the final step in how to clean thermocouple is to reassemble the burner assembly and test the appliance. Begin by carefully placing the thermocouple back in its original position, ensuring that the tip is properly aligned with the pilot flame. The thermocouple must be close enough to the flame to heat quickly but not so close that it becomes damaged by constant direct exposure. Secure it in place with the screws or fittings you removed earlier, tightening them snugly but not excessively.
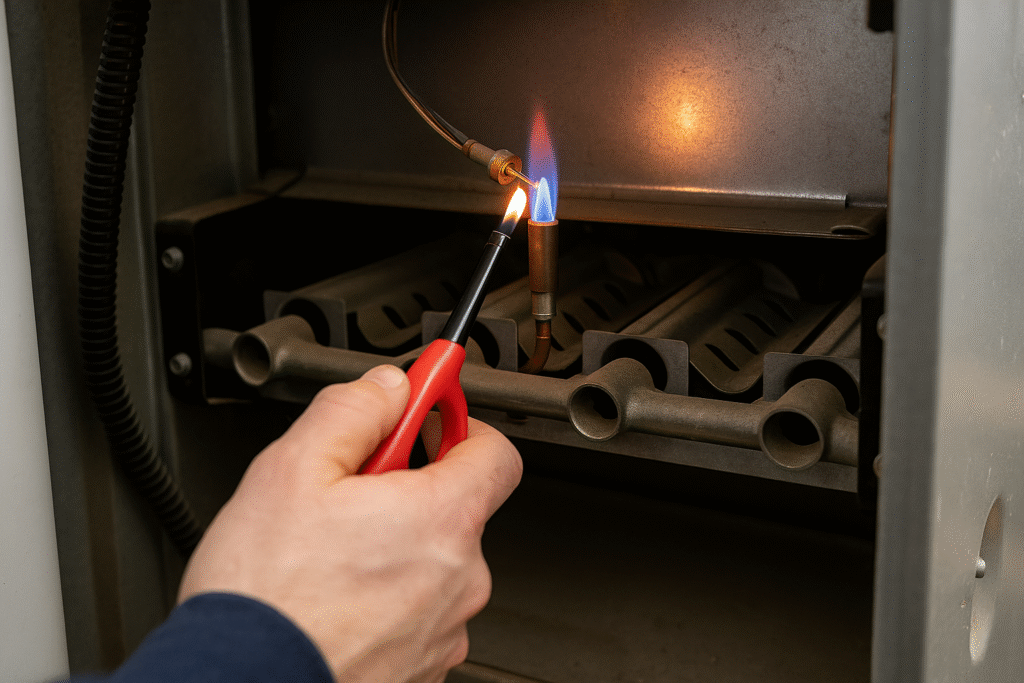
Next, reattach the access panel or burner cover using your screwdriver or wrench. Double-check that no tools or debris are left inside the appliance. Reopen the gas valve and restore the power supply. Relight the pilot light according to the manufacturer’s instructions, and observe the flame as it touches the thermocouple. The flame should burn steadily and directly on the sensor tip for accurate readings.
Once lit, allow the appliance to run for a few minutes to confirm that it remains operational. If the pilot light stays on and the burner functions without shutting off, you’ve successfully completed the process of how to clean thermocouple. If issues persist, repeat the cleaning process or consider replacing the thermocouple, as it may be worn out rather than dirty.
By reassembling carefully and testing thoroughly, you ensure that your cleaning effort not only restored function but also guarantees safe operation. This step closes the loop on effective thermocouple maintenance and extends the reliability of your gas appliance.
Common Mistakes to Avoid When You Clean Thermocouple
While learning how to clean thermocouple can save time and money, many homeowners make mistakes that reduce effectiveness or damage their appliance. One of the most common errors is forgetting to turn off the gas supply and power before starting. Skipping this step poses serious safety risks, as the thermocouple is located near the pilot light and burner assembly.
Another frequent mistake is using the wrong cleaning materials. Coarse sandpaper or harsh abrasives can scratch the thermocouple’s metal surface, reducing its ability to detect heat accurately. Instead, always use fine-grit sandpaper, steel wool, or an emery cloth to gently remove buildup. Similarly, some people apply too much force when scrubbing, which can bend or weaken the thermocouple and lead to replacement rather than repair.
Neglecting to clean the entire tip is another error. Even small patches of soot or carbon can interfere with signal transmission, so thorough but careful cleaning is key. Additionally, skipping the wipe-down afterward can leave behind particles that cause the same issues you set out to fix. Always finish with a microfiber cloth to ensure the sensor is clear of debris.
A final mistake is failing to check alignment during reassembly. If the thermocouple is not properly positioned in the pilot flame, it will still malfunction despite being clean. Always ensure the tip is aligned correctly before relighting the pilot. Avoiding these mistakes makes how to clean thermocouple far more effective, extending both the life of the sensor and your gas appliance.
Alternative Methods for Cleaning a Thermocouple
Although using fine sandpaper or steel wool is the standard approach, there are other methods for how to clean thermocouple that can be equally effective in certain situations. One option is using a can of compressed air to blow dust and loose soot off the thermocouple. This method is especially helpful if the sensor is not heavily coated and you want to avoid abrasion altogether. It’s quick, safe, and reduces the risk of scratching the metal surface.
Another alternative is using isopropyl alcohol on a soft cloth or cotton swab. This works well for light residue or oily buildup that abrasive cleaning might not fully address. Simply dip the swab into the alcohol, gently rub the thermocouple tip, and allow it to air dry before reassembling the appliance. Alcohol evaporates quickly, leaving behind no residue, making it a safe option for delicate cleaning.
For thermocouples with heavier carbon deposits, a small brass wire brush can sometimes be used. Brass is softer than steel and less likely to damage the metal sensor. However, it should be used carefully and sparingly to avoid bending or weakening the thermocouple. In cases where buildup is excessive and cleaning doesn’t restore function, replacing the thermocouple entirely may be the most reliable solution.
Some technicians also recommend using a vacuum with a narrow nozzle to remove dust and debris from the burner assembly while cleaning the thermocouple. This helps prevent dirt from resettling on the sensor once the appliance is reassembled. By exploring these alternative methods, you’ll have multiple ways of mastering how to clean thermocouple effectively, depending on the condition of the sensor and the tools you have available.
Expert Tips and Best Practices
When learning how to clean thermocouple, following expert best practices ensures safety and efficiency. Always start by checking your appliance’s user manual for model-specific instructions. While most thermocouples can be cleaned using similar methods, some appliances may have unique configurations or safety features that require special care.
Another key tip is to clean the thermocouple regularly. Many technicians recommend inspecting and cleaning it at least once a year, preferably before peak heating or usage season. Preventive maintenance reduces the chances of sudden pilot outages and keeps your appliance running smoothly. For homes with dusty environments or frequent use, consider cleaning twice a year.
Experts also stress the importance of gentle handling. The thermocouple is delicate, and bending it out of position can cause malfunctions even if it is clean. Always support the part while cleaning and avoid pressing too hard. After cleaning, double-check the alignment to ensure the tip sits correctly in the pilot flame.
In addition, using compressed air or alcohol-based cleaning is often recommended when abrasives are not necessary. These methods reduce wear and prolong the life of the sensor. Finally, if cleaning does not resolve pilot light issues, replacement is usually the best option. Thermocouples are inexpensive, and swapping out a worn sensor can restore reliability immediately.
For additional technical guidance, resources such as the U.S. Department of Energy’s Energy Saver guide provide useful tips on maintaining gas appliances. Following these expert recommendations makes how to clean thermocouple more effective, safe, and long-lasting.
Frequently Asked Questions About Cleaning Thermocouples
When it comes to how to clean thermocouple, many homeowners have recurring questions about safety, effectiveness, and when to seek alternatives. Below are some of the most common FAQs answered in detail.
How often should I clean my thermocouple?
Most experts recommend cleaning once a year, ideally before heavy seasonal use. If your appliance shuts off frequently, cleaning may be needed more often. Regular maintenance prevents buildup and keeps your system reliable.
Can I use household cleaners instead of sandpaper or alcohol?
It’s not recommended. Harsh chemicals or all-purpose cleaners can leave residues that interfere with the thermocouple’s ability to sense heat. Stick to fine abrasives, compressed air, or isopropyl alcohol for safe results.
What if cleaning doesn’t fix the problem?
If cleaning fails, the thermocouple may be worn out and require replacement. Thermocouples are inexpensive and widely available, making replacement a quick fix if cleaning is ineffective.
Is it safe to clean a thermocouple on my own?
Yes, if you follow safety precautions such as turning off the gas and power first. However, if you feel uncertain or uncomfortable, it’s always best to contact a licensed technician to handle the job.
Where can I find more safety information?
For comprehensive details about safe appliance maintenance and gas safety, the CDC’s NIOSH safety resources provide reliable guidance for handling equipment like thermocouples.
📌 Read Similar Topics
- Fix Moen Shower Valve
- Dishwasher Replacement Cost Explained
- Fix Burn Hole on Couch
- How to Fix a Tear in Leather Shoes
- Unsticking a Zipper
Conclusion: Putting It All Together
Gas appliances are designed with safety and reliability in mind, but they require regular upkeep to continue performing at their best. A dirty thermocouple is one of the most common reasons for pilot light failures and unexpected shutdowns. By learning how to clean thermocouple, you’ve equipped yourself with the knowledge to maintain this essential component, extend the life of your appliance, and avoid unnecessary service calls.
Throughout this guide, we’ve covered every step of the process: shutting down the appliance safely, accessing the thermocouple, cleaning the tip with the proper tools, and reassembling everything correctly. You’ve also learned about alternative methods, common mistakes to avoid, and expert tips that make the job easier and safer. With this information, you can approach thermocouple cleaning with confidence and precision.
The key to success lies in patience and consistency. A gentle touch during cleaning, regular annual maintenance, and proper reassembly ensure that your thermocouple continues to function as intended. And if cleaning doesn’t resolve the issue, replacing the thermocouple is a simple and inexpensive next step. In either case, you’ll be able to restore steady performance and reliable heating in your home.
Mastering how to clean thermocouple isn’t just about fixing a single problem—it’s about taking control of your home’s essential systems. With a few simple tools, a bit of time, and the knowledge you’ve gained here, you can keep your gas furnace, water heater, or fireplace running smoothly and safely for years to come.